How To Automatically Shut Down Your Windows XP Computer
As a general rule, I like to shut my computer off when I’m away from it for long periods of time. That includes going out for the day or night, as well as going to sleep. Sometimes it’s hard to remember to shut it off. So in this article I’ll show you a way to shut your Windows XP computer off automatically.
Windows XP comes with a program called shutdown.exe and is located in your system32 folder which typically resides under C:\Windows or the main folder where Windows XP was installed.
So let’s set this up quickly:
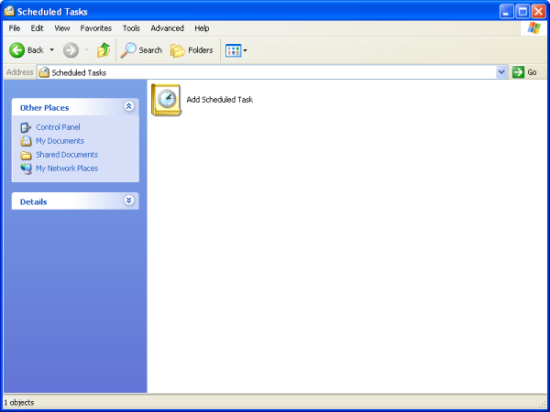
1. Go to “Start->Control Panel” and click on “Scheduled Tasks” if you’re in “Classic View”. If you’re not in “Classic View” you are probably in “Category View”. In “Category View” you’ll click on “Performance and Maintenance”. Then click on “Scheduled Tasks”. You’ll see the following screen. Double-click the “Add Scheduled Task” icon.
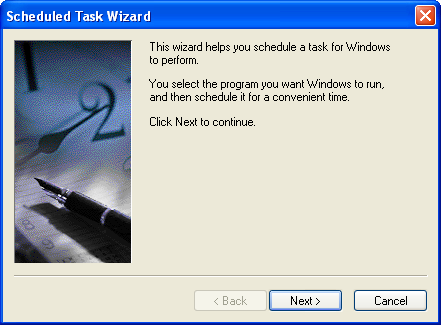
2. Click “Next” on the “Schedule Task Wizard” screen (below).
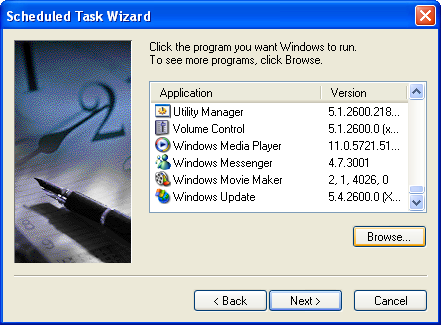
3. Click the “Browse” button on the next screen that lists the different applications you can select from (below).
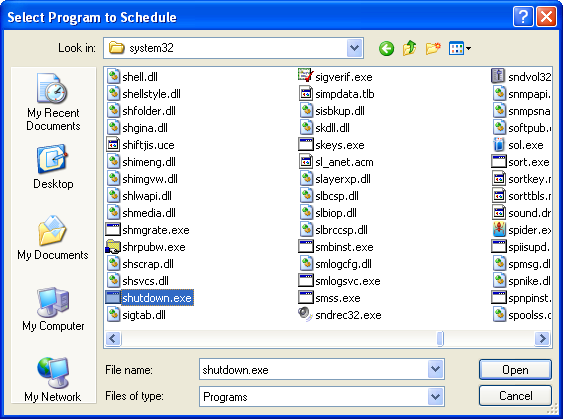
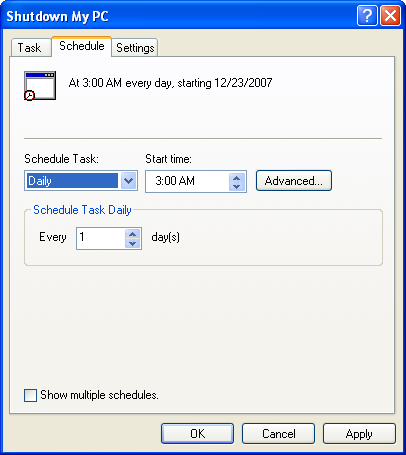
5. After selecting shutdown.exe, select “Daily” for “Perform this task:” (below).
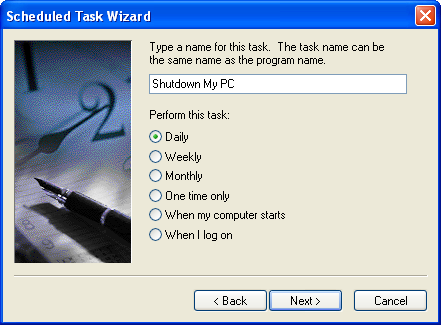
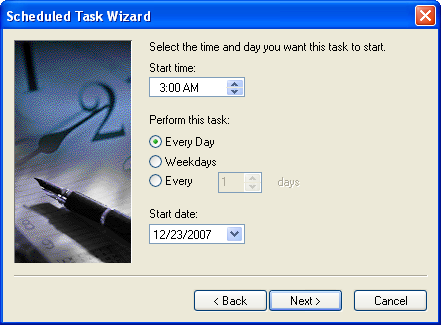
6. I sleep during the night.
That’s why I shut my PC down automagically at 3:00am (below). But, I
run some jobs automatically at 1:00am – virus scan and spyware scan,
which will be part of a future article. Feel free to adjust this time
to fit your schedule.
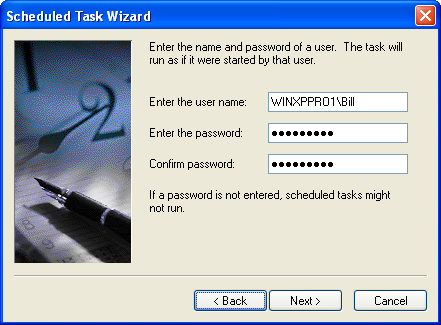
9. You’ll be presented with the following screen.
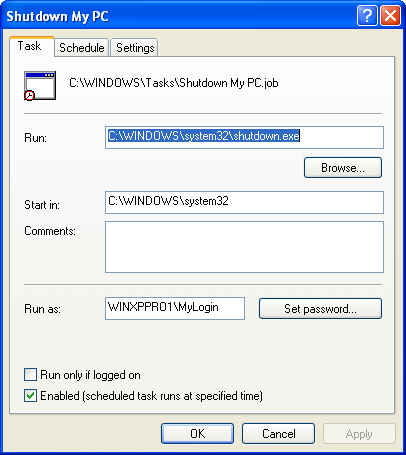
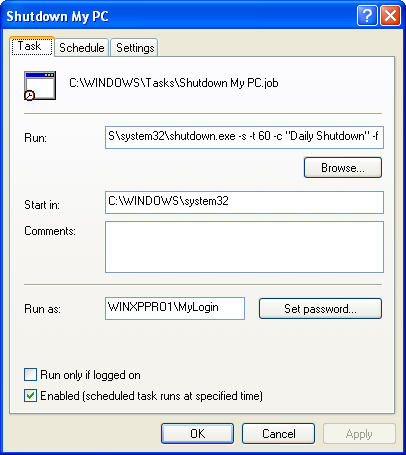
10. Add the following command line
parameters as seen below and here – C:\Windows\system32\shutdown.exe -s
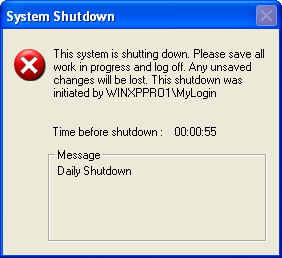
-t 60 -c “Daily Shutdown” -f. The -s stands for “Shutdown the
computer”. The -t 60 stands for “Set timeout for shudown to xx seconds.
Feel free to adjust that. You never know when you’re going to be
working at 3:00am, so it’s nice to have 60 seconds to prepare for the
shutdown. The -c stands “Shutdown comment” which shows up on the
screen when the PC is shutting down. And finally the -f stands for
“Forces running applications to close without warning”.
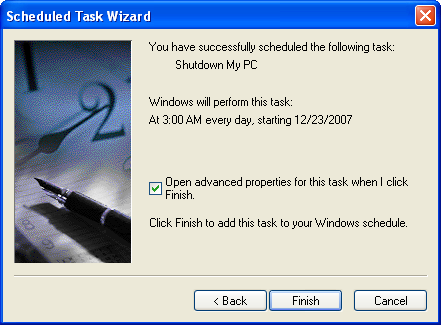
11. There’s nothing to change on
“Schedule” tab. However, feel free to adjust anything that pertains to
your work environment or routine.
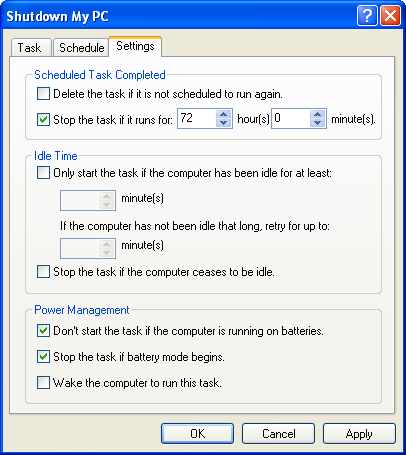
12. I also leave the “Settings” tab alone. Again, change what you need to or experiment what suits your work style.
13. This is the final screen
(below) that pops up when the task runs. You will have 60 seconds to
close applications if you need to.
That’s it!! Now you can rest assured your PC is shut down and secure while you’re away from your PC.


